 Vietnam
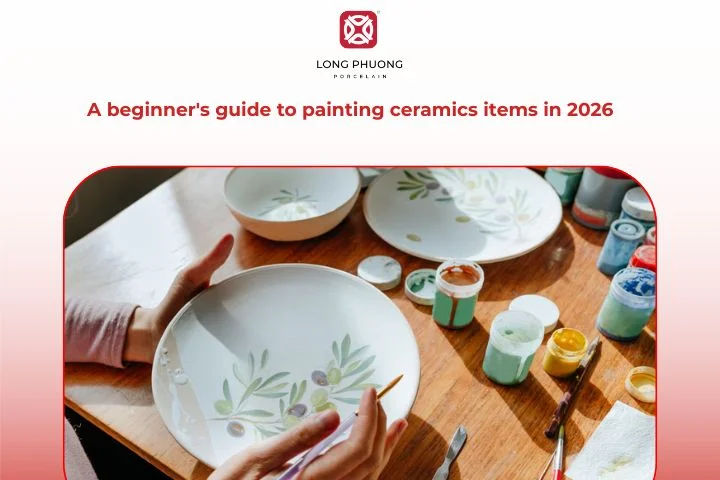
Ceramics have long been a canvas for creativity. Whether you are an aspiring artist or simply looking for a relaxing hobby, learning how to paint ceramics can be both fun and rewarding. This guide to painting ceramics will help beginners explore the exciting world of ceramic art, offering tips, techniques, and ideas to bring your pottery to life. Get ready to unleash your inner artist and make some ceramic magic!
1. Essential materials for painting ceramics
Before you begin, it’s essential to gather the right tools and paints. The guide to painting ceramics always starts with understanding your materials, because they decide how smooth, vibrant, and durable your final piece will be.
1.1. Bisque ceramics and basic tools

Bisque ceramics are unglazed pottery pieces that are ready to paint. They come in various shapes and sizes, from mugs and plates to decorative items.
Basic tools for a ceramic painting project include:
- Fine brushes in different sizes
- Pencil or carbon paper for sketching
- Palette for mixing colors
- Water cup for rinsing brushes
- Sponges and soft cloths for cleaning
If you’re starting out, pick smooth, high-quality bisque ceramics. Long Phuong Porcelain provides beautifully crafted bisque pieces perfect for any guide to painting ceramics beginner projects.
1.2. Choosing the right paints and brushes

The type of paint you choose depends on the desired finish and whether you have access to a kiln.
- Underglaze Paints: These are specifically formulated for bisque and must be covered with a clear glaze and then fired in a kiln. They offer vibrant, permanent colors.
- Glaze Paints (Overglaze): These contain a glaze component and fire to a glossy finish. They are often applied to already-fired pieces and require a second firing.
- Acrylic Paints: For those without access to a kiln, ceramic-specific acrylic paints (or multi-surface acrylics) are a popular alternative. They are cured through air drying or baking in a standard home oven.
- Brushes: Invest in a variety of quality brushes: Round, flat and fan.
1.3. Glazes, clear coats, and firing options

After painting, many artists add glazes or clear coats to protect their work and enhance colors. Glazing is the protective, final layer, as highlighted in this complete guide to painting ceramics.
- Transparent glazes for a glossy finish
- Matte glazes for a soft look
Firing options vary depending on your materials:
- Oven-safe paints allow home kiln firing
- Professional ceramic kilns offer permanent durability
See more: Ceramic artware: The timeless blend of art and function
2. Step-by-step guide to painting your first ceramic piece
Getting started with ceramic painting is easier than it seems. Follow this simple five-step process in this guide to painting ceramics.
2.1. Step 1: Preparing and cleaning the surface
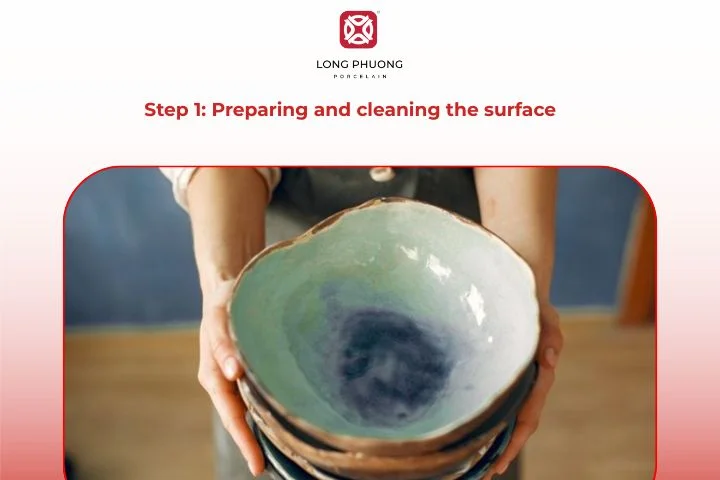
Preparation is key to a lasting design. A clean canvas is the best canvas. To begin your successful guide to painting ceramics project, you must:
- Dusting: Gently wipe the bisque piece with a slightly damp (not wet) sponge or cloth to remove any dust or stray clay particles.
- No Oils: Avoid touching the ceramic with oily fingers after cleaning, as oil can repel the paint, leading to patchy color. If working on a pre-glazed piece, use an alcohol wipe to ensure the surface is perfectly clean.
2.2. Step 2: Sketching your design
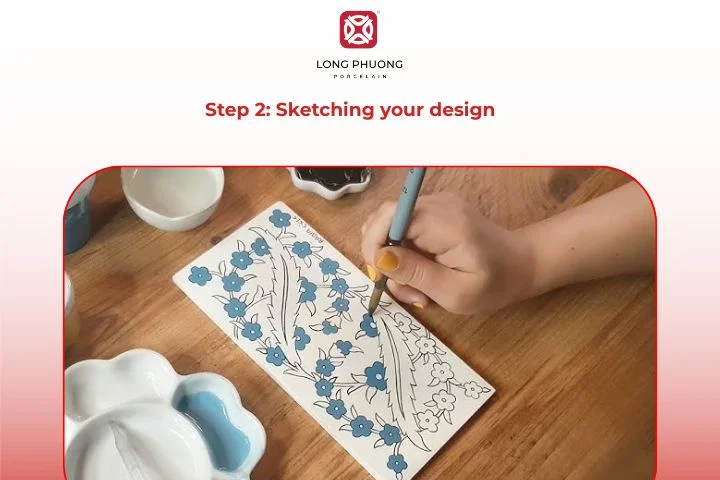
Lightly sketch your design with a pencil. Beginners can start with simple shapes or outlines. You can also use transfer paper to trace intricate designs.
2.3. Step 3: Applying base colors

Begin with your background colors. Apply paint in thin layers, letting each dry completely before adding the next. This technique, emphasized in every guide to painting ceramics, prevents cracking and ensures even coverage.
2.4. Step 4: Adding details and textures
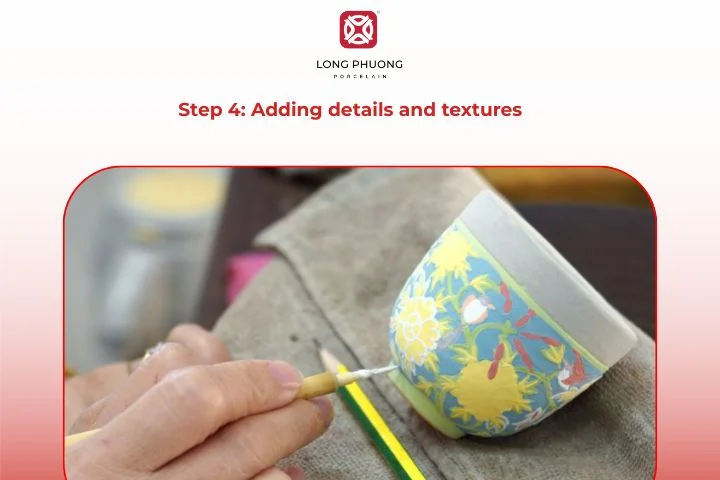
This is where your piece truly comes alive.
- Fine Brushwork: Use your smallest round brushes for delicate lines, outlines, and tiny details.
- Layering and Blending: To create a sense of depth, layer lighter colors over darker ones. You can blend colors by applying them while the previous coat is still slightly wet (this works best with underglazes).
- Sgraffito: This classic technique involves scratching through a layer of paint to reveal the ceramic (or a different colored paint) underneath. Use a pointed tool or a stylus for this, a crucial skill to master in this guide to painting ceramics.
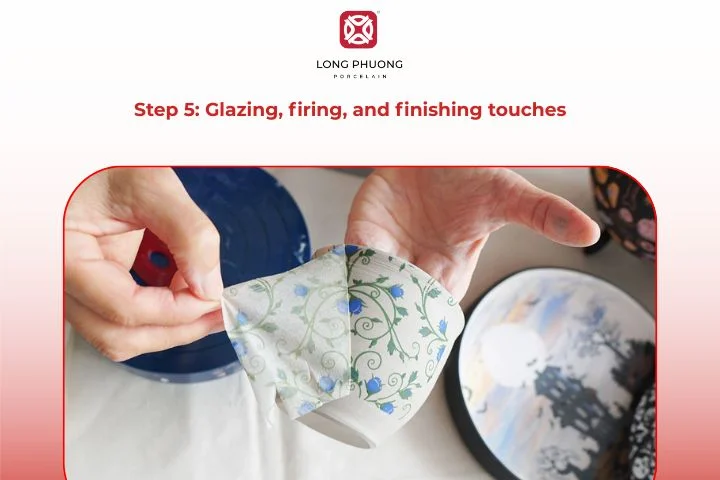
2.5. Step 5: Glazing, firing, and finishing touches
Once your artwork dries, apply a clear glaze to protect the colors. Then follow the firing instructions for your paint or glaze. The final result? A durable, glossy ceramic masterpiece from your own guide to painting ceramics experience.
See more: 5 steps in the ceramic processing process you need to know
3. Ceramic painting techniques for beginners
Once you master the basics, try these techniques to elevate your ceramic art. Exploring these methods will deepen your understanding gained from the foundational guide to painting ceramics.
3.1. Painting on glazed and unglazed ceramics

The surface texture dictates the approach:
- Unglazed (Bisque): Bisque absorbs paint quickly, giving you limited time to blend. It is ideal for underglaze painting before the first clear glaze and firing.
- Glazed (Fired): A smooth, non-porous surface. Paints (like overglazes or specially formulated acrylics) tend to sit on top. You have more working time, but the paint can smudge easily until fired or cured.
Both techniques are covered in detail in any professional guide to painting ceramics course.
3.2. How to add shading and depth
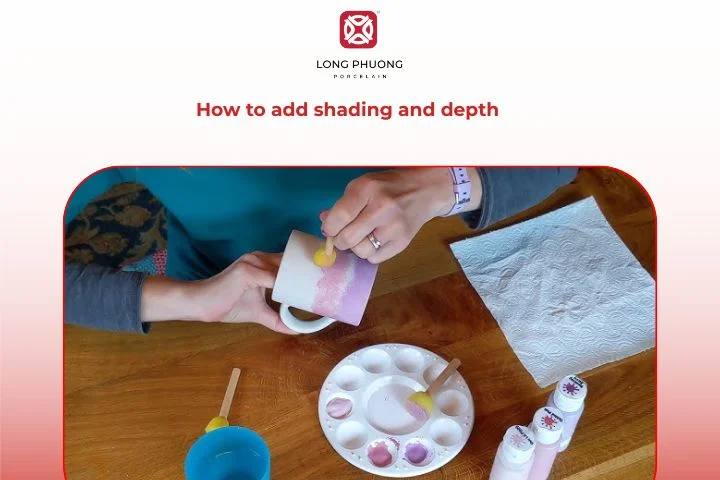
Shading makes flat designs pop.
- Layering: Apply a base color, then use a slightly darker shade of the same color while the first is still damp to create a smooth gradient.
- Dry-Brushing: Dip a brush in a small amount of paint, then wipe most of it off. Lightly skim the brush over the surface to create a textured, subtle shadow effect. This is a subtle yet powerful technique featured in any advanced guide to painting ceramics.
- Washing: Thin your paint significantly with water and apply a very light coat to large areas. The thinner paint will settle into the crevices, creating natural shadows.
3.3. Traditional and advanced techniques you might not know

Advanced artists often explore the following methods in their guide to painting ceramics journey:
3.3.1. Engobe and water-based undercoats
Engobe is a liquid clay layer that provides a base for painting. It improves adhesion and can add subtle textures.
3.3.2. Using oxides for color effects
Metal oxides produce earthy or metallic effects. They are often mixed with water or underglazes for creative finishes.
3.3.3. Glazing techniques
Layering glazes can create unique textures and finishes. Experiment with multiple glaze types for depth.
3.3.4. Hand-painting and detailed brushwork
Hand-painting allows for intricate designs, from floral patterns to geometric shapes. Small, fine brushes are essential.
3.3.5. Overglaze and underglaze painting
- Underglaze: Applied before firing, providing long-lasting color.
- Overglaze: Added after initial firing for highlights and embellishments.
3.3.6. Carving, embossing, and inlay methods
Add texture by carving or inlaying colored clay into the surface. These techniques enhance tactile and visual appeal.
3.3.7. Enamel techniques
Enamels create a glossy, durable finish. They can be applied in layers and fired at low temperatures for home kilns. This concludes the techniques section of our detailed guide to painting ceramics.
4. Pottery painting ideas for beginners
Finding inspiration is key to enjoying ceramic painting. Here are some Pottery painting ideas for beginners to apply the techniques learned in this guide to painting ceramics.
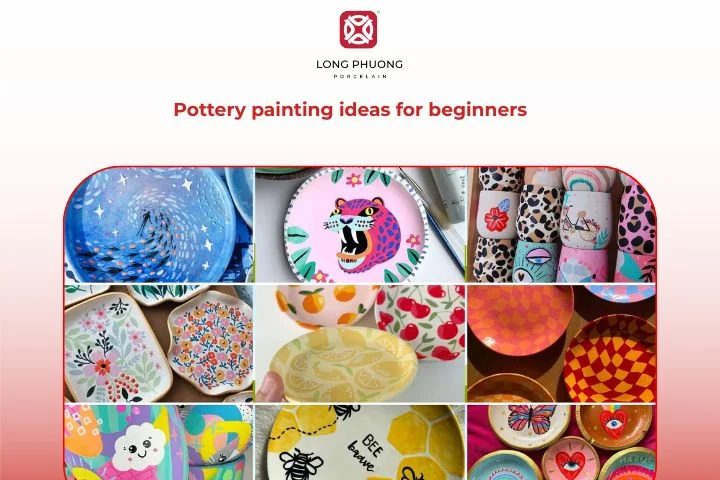
4.1. Simple patterns and minimalist designs
Focus on clean lines and simple shapes.
- Stripes and Dots: Use painter’s tape to create crisp, uniform stripes on a mug or plate. A simple dot pattern (polka dots) is an easy and cheerful look.
- Color Blocking: Divide your piece into distinct, solid blocks of color. Think two-tone mugs or geometric plates.
4.2. Botanical themes and nature-inspired motifs
Nature is an endless source of inspiration.
- Simple Leaves: Paint simple, abstract leaf shapes. Start with one shade of green and add small veins in a slightly darker color.
- Abstract Flowers: Don’t worry about perfection. Use the round end of a brush handle to dot on circles for petals and a contrasting color for the center.
4.3. Personalized items and gift ideas
Ceramic art makes the best custom gifts.
- Monograms and Names: A beautifully painted initial or name makes a great gift. Practice your lettering on paper first. This kind of project is a perfect application of the knowledge from this guide to painting ceramics.
- Mismatched Sets: Paint a set of mugs or bowls with a common theme (like different constellations) but varying colors for a fun, eclectic look.
4.4. Seasonal decorations and abstract art
- Holiday Motifs: Think pumpkins and foliage for fall, snowflakes for winter, or bright florals for spring.
- Abstract Washes: Apply thin, watery coats of paint and let them blend and run naturally for a watercolor effect.
See more: Exploring Qing Dynasty ceramics: a timeless royal Chinese legacy
5. Video tutorial how to painting ceramic with arcylic paint
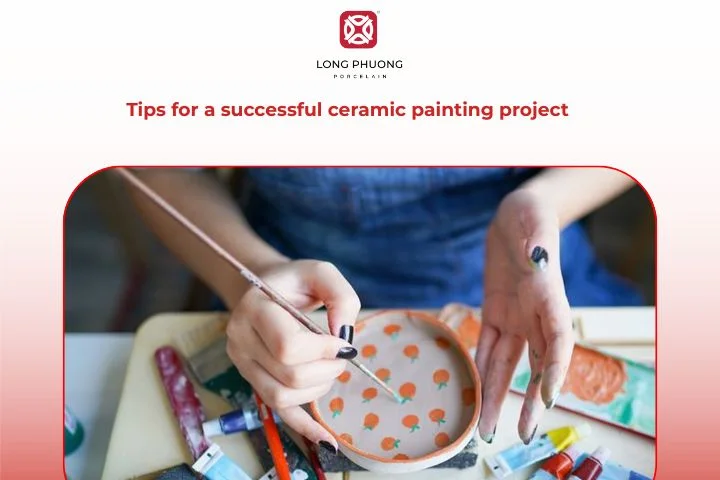
6. Tips for a successful ceramic painting project
After dedicating so much time to your piece, you want the result to be perfect. Keep these tips in mind from this comprehensive guide to painting ceramics:
- Do Not Rush the Drying: Always allow each coat of paint or glaze to dry fully before applying the next or handling the piece. Rushing leads to smudging and peeling.
- Test Your Colors: Underglaze colors often look completely different after firing. If possible, test your colors on a small swatch of bisque and have it fired first.
- Keep Your Brushes Wet: Dip your brush in water frequently when using underglaze to keep the paint flowing smoothly and prevent the bristles from getting stiff.
7. FAQs
Your most pressing questions about ceramic art are answered, drawing directly from the best practices in this guide to painting ceramics.
7.1. What are the five guidelines to remember when painting your ceramics?
The essential guidelines, often emphasized in a dedicated guide to painting ceramics, are:
– Cleanliness: Always start with a clean, dust-free piece.
– Thin Coats: Apply multiple thin coats, not one thick one, for an even finish.
– Drying Time: Allow ample drying time between coats.
– Wipe the Foot: Never leave glaze on the bottom of the piece before firing.
– Quality Materials: Use the correct paint (underglaze, overglaze, or ceramic acrylic) for your piece and the intended finish.
7.2. What are the 4 S’s in ceramics?
The “4 S’s” usually refer to the four critical stages or states of clay in the pottery process:
– Score: Roughen the surfaces where you will attach the pieces by scratching them with a tool.
– Slip: Apply a liquid clay “glue” to the scored areas. This can be water or a mixture of clay and water.
– Stick: Firmly press the two scored and slipped surfaces together.
– Smooth: Blend the seam where the two pieces join to create a single, unified piece of clay. This also helps to reinforce the bond.
7.3. What to paint on pottery for beginners?
Start with simple designs like stripes, dots, florals, or personalized motifs. Gradually try more complex patterns as you gain confidence. These simple Pottery painting ideas build your muscle memory and understanding of the paint’s behavior.
7.4. What kind of paint should I use for ceramics?
The best paint depends on your goal and resources:
– For Food-Safe Dinnerware: Use Underglazes covered with a clear glaze, followed by a professional kiln firing. This is the gold standard for durable, everyday use items like the beautiful, reliable pieces from Long Phương Porcelain.
– For Decorative Items (No Kiln): Use oven-cure or air-dry Ceramic Acrylic Paints followed by a sealant.
Ready to begin your own guide to painting ceramics journey? Long Phuong Porcelain offers an extensive range of bisque ceramics, painting supplies, and glazing tools, perfect for artists, studios, and hobbyists alike.
Related Posts

CEO of Long Phuong Group Joint Stock Company, with more than 20 years of exploration and research to obtain the best formulas and professional experience, Long Phuong Porcelain has produced more than 400 designs of all kinds of household porcelain, Significant contributions to Vietnam's ceramic industry.